Forget Linux -- Here's how to install Windows 10 on Raspberry Pi 3

The official way to install a version of Microsoft’s latest operating system on a Raspberry Pi is to use Windows 10 IoT, but that’s a stripped down version and a far cry from the Windows 10 we know and love/hate (delete as applicable).
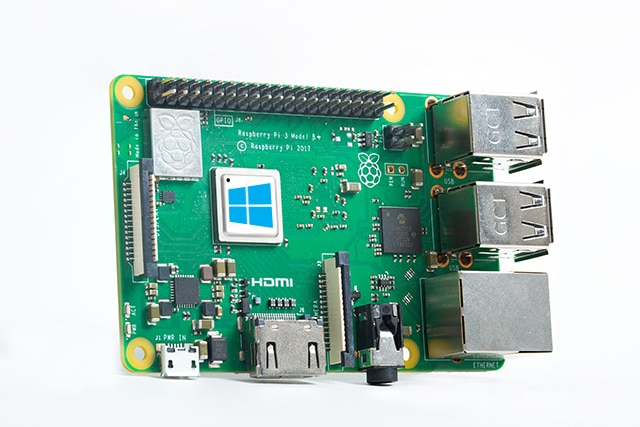
Microsoft makes a version of Windows 10 that runs on ARM processors, and there’s now an unofficial Windows On ARM tool that lets you install that OS on the Raspberry Pi 3 Model B or B+.
Apart from the installer itself, which you can download from here, you will need a copy of Windows 10 for ARM, which Microsoft doesn’t make readily available for end users.
The easiest way to get this is to go to this page, and under 'Select type' choose Windows (Final Version). For the version itself, pick Feature update to Windows 10, version 1809 [arm64]. Choose your language, select Windows 10 Professional as the edition, and for the type of download, select Download ISO compiler in OneClick! (run downloaded CMD-file). Click the top link on the right side to save the CMD file, and then run it. It will take a long time to create the package, so be patient. Once it has, open the ISO file and extract the install.wim file to the desktop.
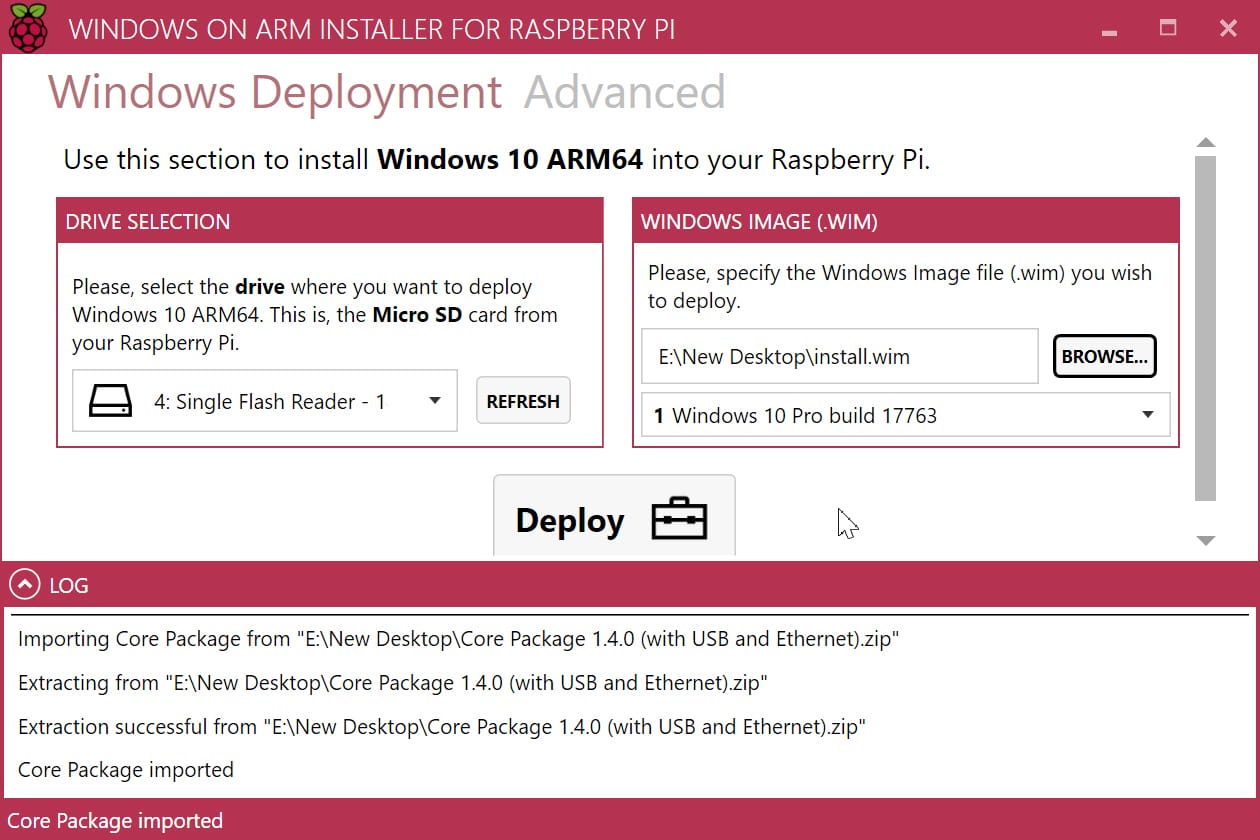
Run the WoA Installer, click the Advanced button and install the Core package for it (links to download this are here).

Go back to the Windows Deployment section, and select the microSD card for your Pi and load the install.wim file. Click the Deploy button and wait (quite some time).
You'll then be able to boot into it from your Pi.